How to test recipe functions

Why test recipes?
Testing early and often is vital to effective recipe design. Builders in Workato use test mode to safely test recipes as they’re building, testing not just a completed recipe, but each new or updated step. Testing this way makes it:
- Less likely that multiple points-of-failure will crop up in the same test
- Easier to diagnose errors
- Faster to get to a working outcome
To make it even easier to test as you build, we’re excited to announce a new method for testing recipe functions.
Testing recipe functions
Recipe functions are a special kind of recipe that help you to apply modular design principles to your automations. Instead of being triggered by an event, or on a particular schedule, recipe functions only run when they are “called” from a parent recipe.
For example, this recipe calls a recipe function in order to cleanse, validate and standardize lead data from a CSV file.
But how can we test a recipe that only runs as part of a parent recipe? We could just test the parent recipe. Any error in the recipe function would cause the parent recipe to fail. But remember that we need to be able to control the scope of our tests. We should be able to test our recipe function against any expected input. This way, we can be confident that the recipe function will work, independently of any one parent recipe.
How to test a recipe function
When editing any recipe function, click Test, as you would with any other type of recipe.
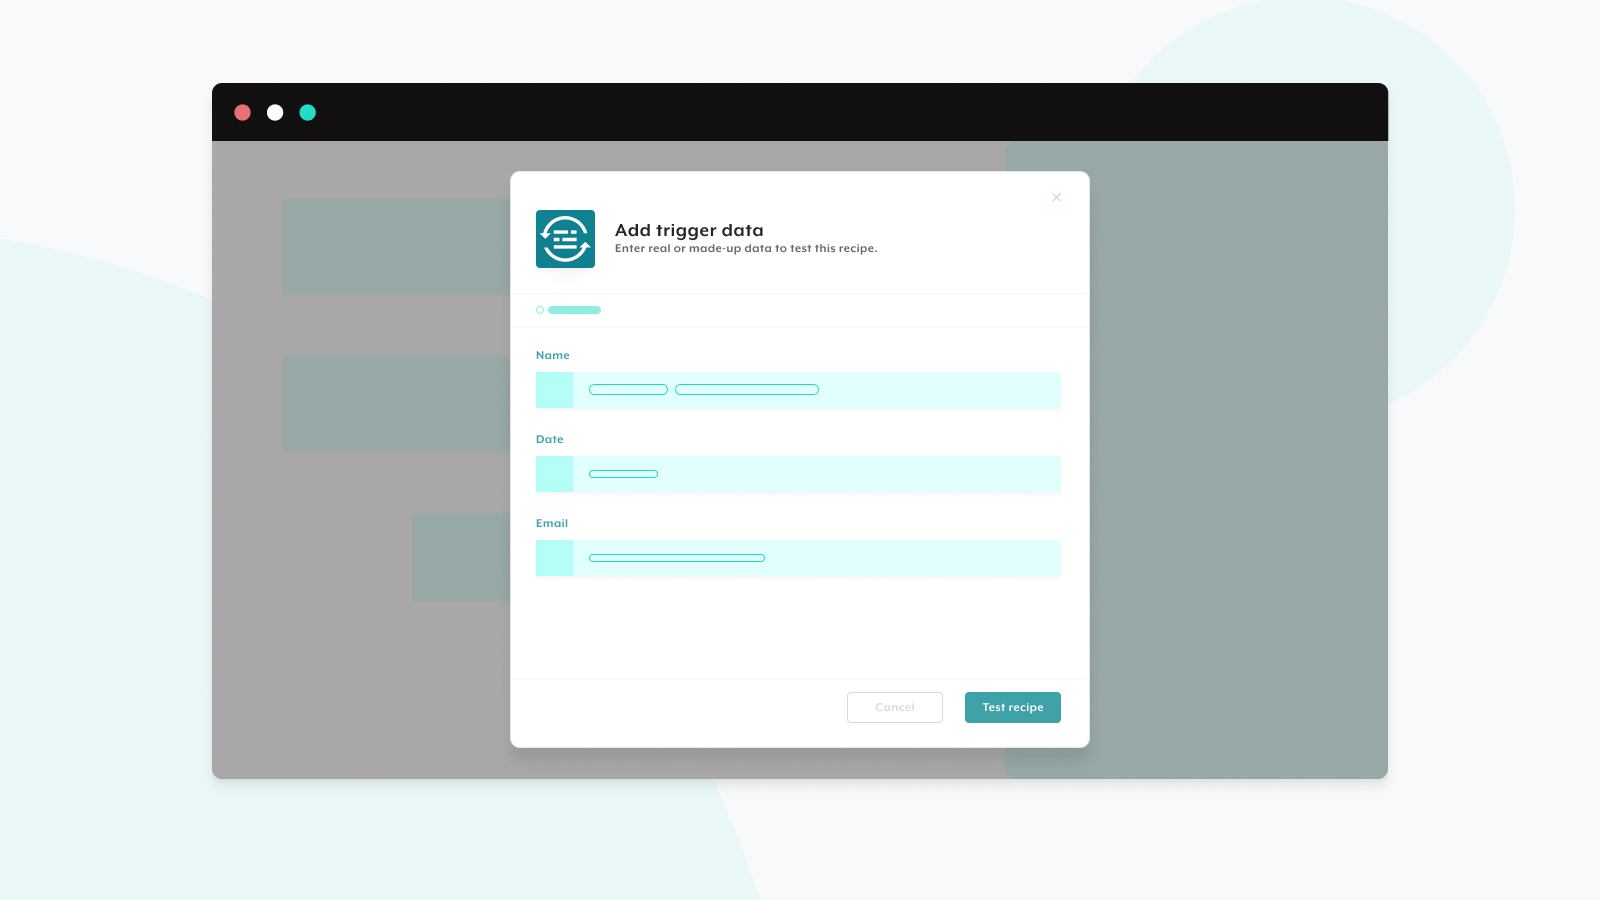
In the modal window that appears, add some sample data to test the recipe with. The data you need to provide is determined by the recipe functions input schema. Click Test.
The test view will show the results of your test, including the final output of the function, if the test was successful.
Test multiple scenarios
This recipe is designed for cleansing and validating data, so we want to test it against all the different varieties of incorrect data we might encounter. For this purpose, we can use the raw JSON view of the trigger modal.
This view shows the trigger data in JSON format.
Using this format, you can easily develop a set of tests to check all of the different conditions you expect your recipe to be able to handle. You can even design your tests before you begin building your recipe.
With your tests prepared like this, you can easily copy/paste a particular set of test data into the trigger modal. Note that you can only test against a single set of data at a time.
Testing nested recipe functions
Note that it’s common for recipe functions to call out in turn to other recipe functions. This pattern allows you to break down complicated processes into modular, reusable pieces.
The example above shows three tiers of dependency. A parent function calls a high-level recipe function. That recipe function in turn calls three lower-level functions, each of which performs a discrete task. By manually providing trigger data to each recipe function, you’re able to isolate and test each level. Independently test each of the three low-level recipe functions. Then, test the high-level recipe function that calls them all. Finally, test the parent recipe. This will allow you to easily isolate and solve any errors.
Learn more
- Learn to use recipe functions to make your automations readable, reusable and maintainable.
- Read more about recipe functions in the docs.


