Setting up your account settings — Workato for Admins
Setting up your Workato account settings
As a workspace administrator, setting up your team for success starts with laying the groundwork. Ensuring that you have configured your Workato account settings is the first step to controlling the experience of your workspace.
Below, we will review some aspects of the account settings that will help manage your workspace, teams, automations, and much more. This includes:
- How to create a unique profile to personalize your workspace
- How to keep your account secure with session time outs
- How to set up notifications for critical updates
Related: 5 must-have account settings to personalize for your Workato workspace
How to personalize your workspace in your account settings — creating a unique profile
To access your account settings, click Settings at the left-hand menu of your screen.
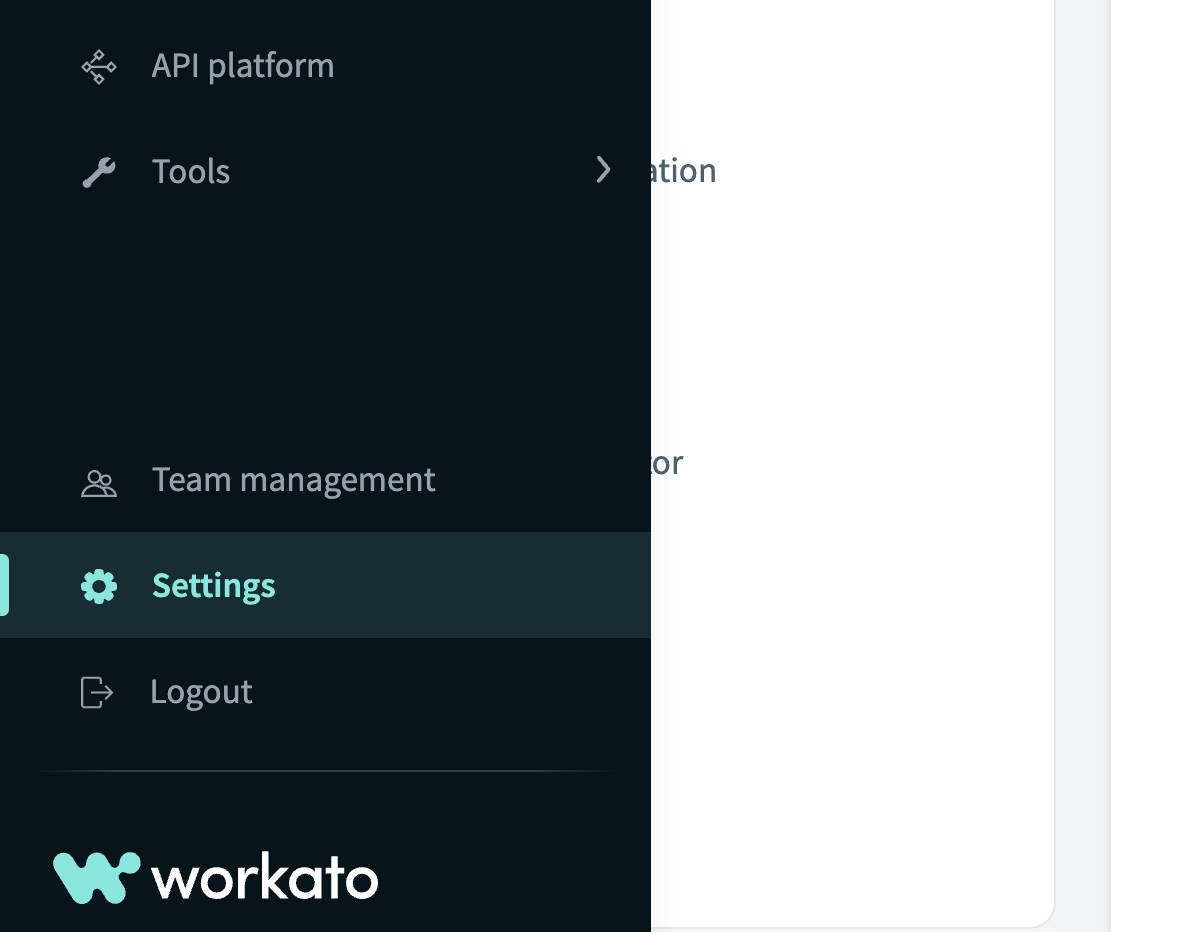
Click ‘Settings’ at the left-hand menu
Naming your workspace
The first thing to set up is the profile of your workspace. As you introduce more automations across different business departments, it is common for team members to collaborate across multiple workspaces.
Related: How to automate collaboratively in your workspace
Giving your workspace a unique and meaningful name makes it easy for your team to identify the workspaces they will be working in.
For the example below, my team and I build automations for product-led growth initiatives, so I will set the name of this workspace to Product-led growth.
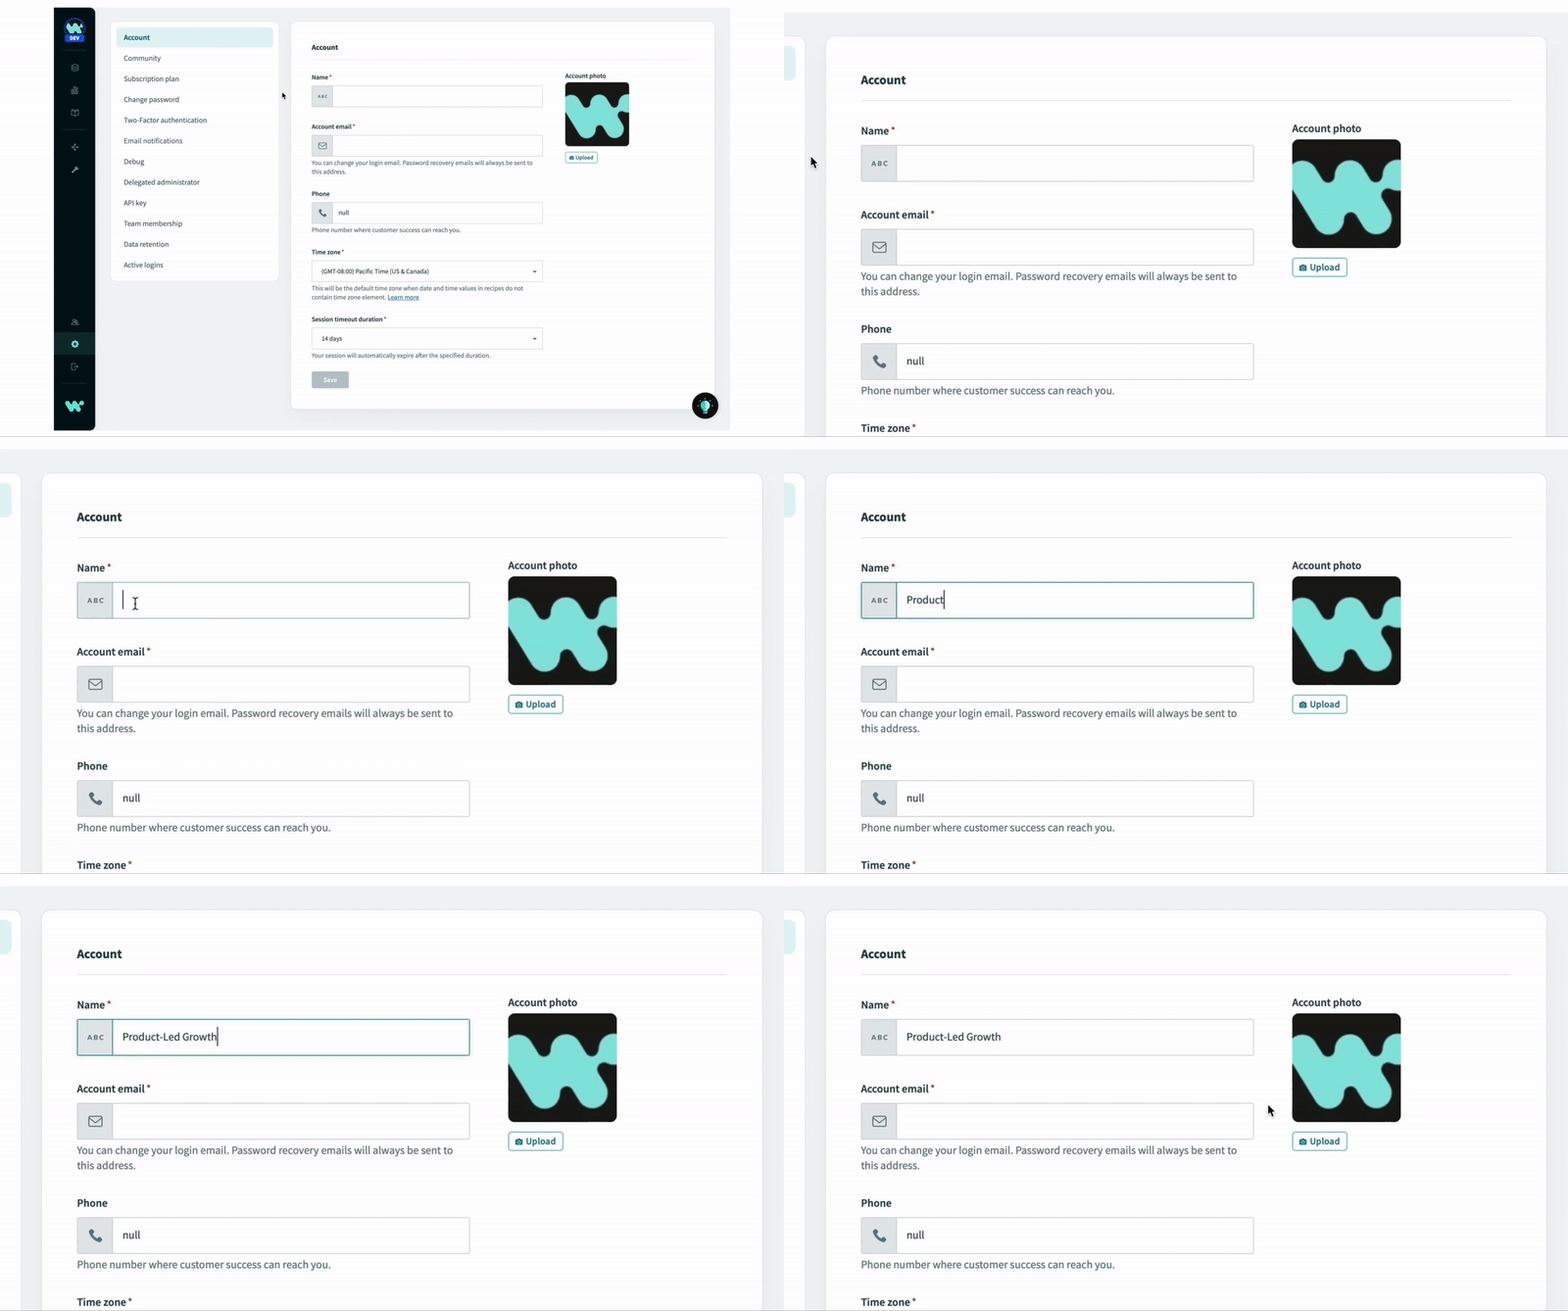
Giving your Workspace a unique and meaningful name: Product-Led Growth
Adding an account photo
Adding an account photo serves as a visual cue to differentiate between different workspaces. In the picture below, the marketing team at Workato has a workspace named Marketing, and the HR team has a workspace named Human Resources.
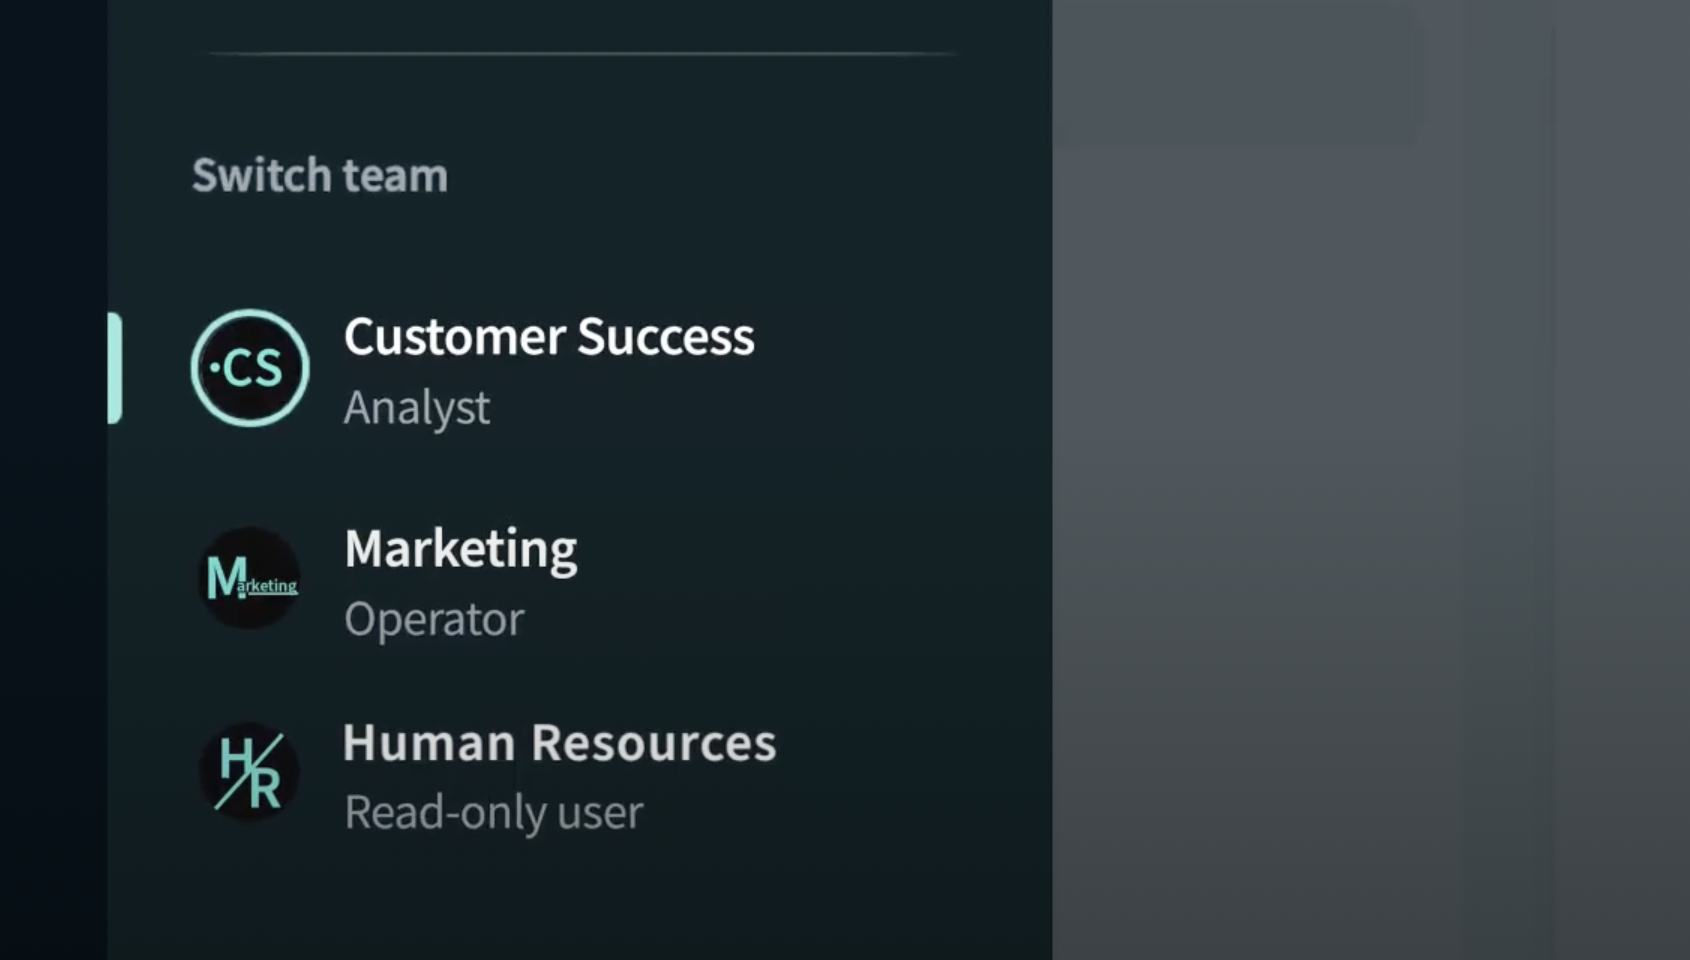
Different Workspaces
With multiple workspaces on hand, adding an account photo to the produce-led growth workspace will make it distinguishable for my team to easily find and work in the right workspace.
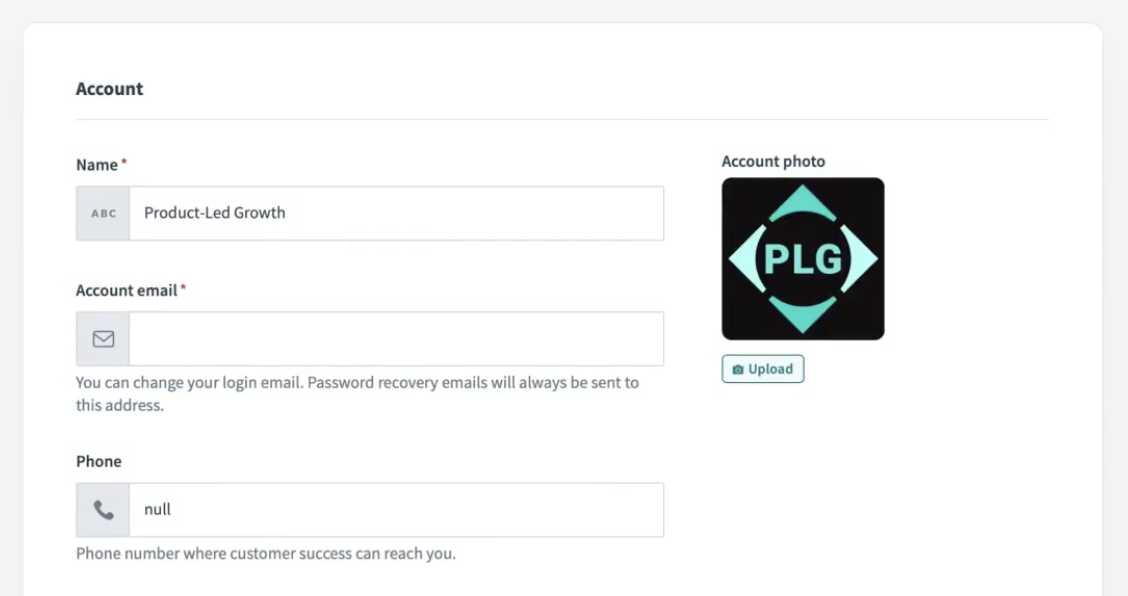
Custom PLG account photo
Set up your log-in/account email
Your log-in/account email performs 2 functions:
- allows you to log into your Workato account
- allows you to receive important updates and communication like password reset and product updates
A good practice is to use an email alias that some members of your team have access to so that you do not miss out on important updates and communication if someone is on vacation or unavailable.
I’ll set my email to pe-plg@workato.com.
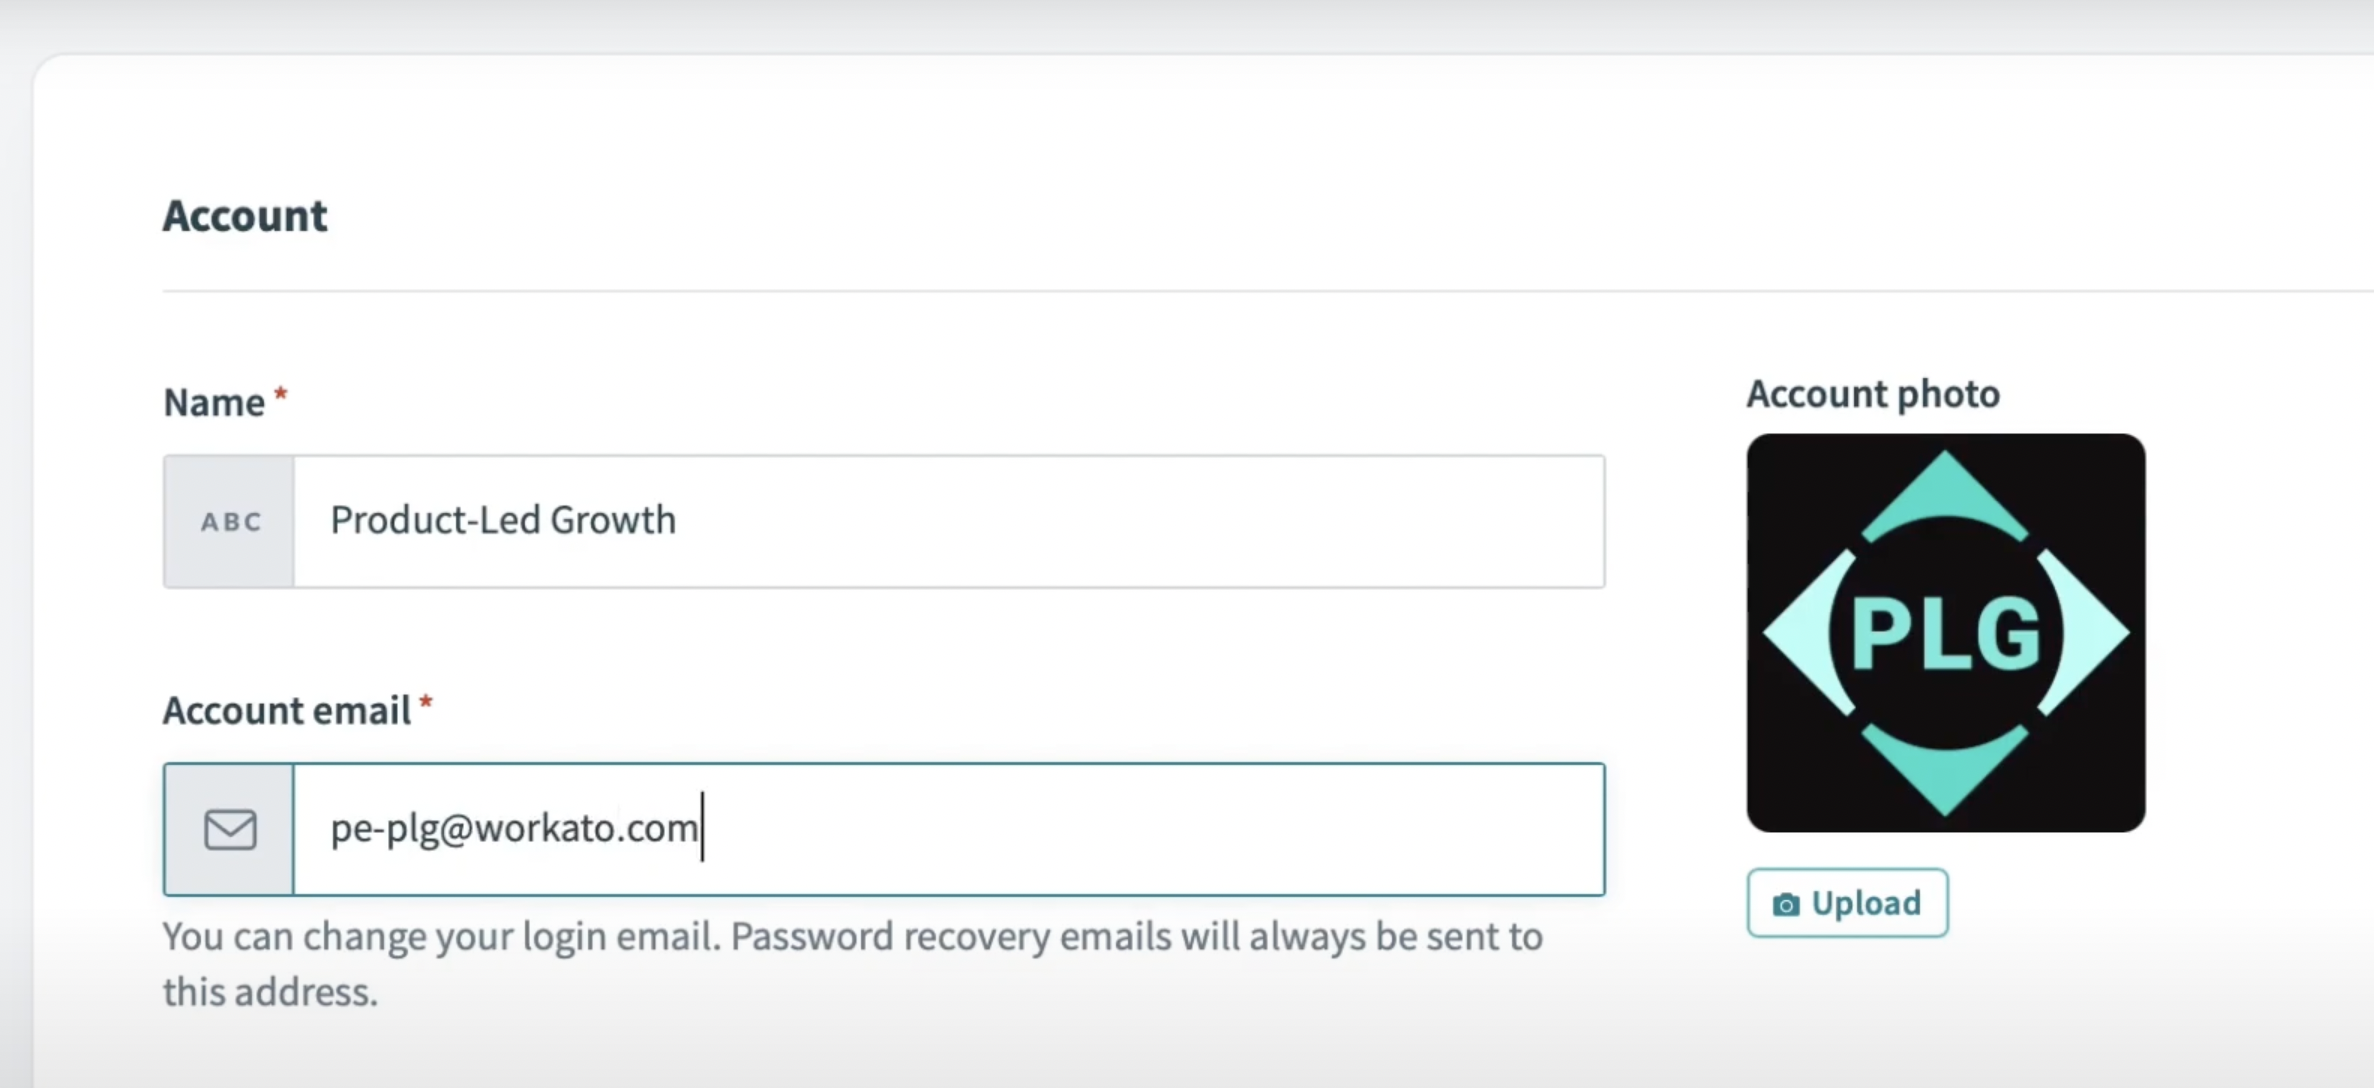
Log-in email/account email
How to keep your sessions secure with the right account settings
Protecting your workspace is a must-do before starting any automation project.
Related: Best practices for workplace governance and security
Choosing a suitable session timeout duration
The session timeout duration allows you to stay logged into your Workato account for the duration that suits your needs before you are automatically logged out.
Depending on your productivity and security needs, You may set the duration from anywhere between 15min to 14 days.
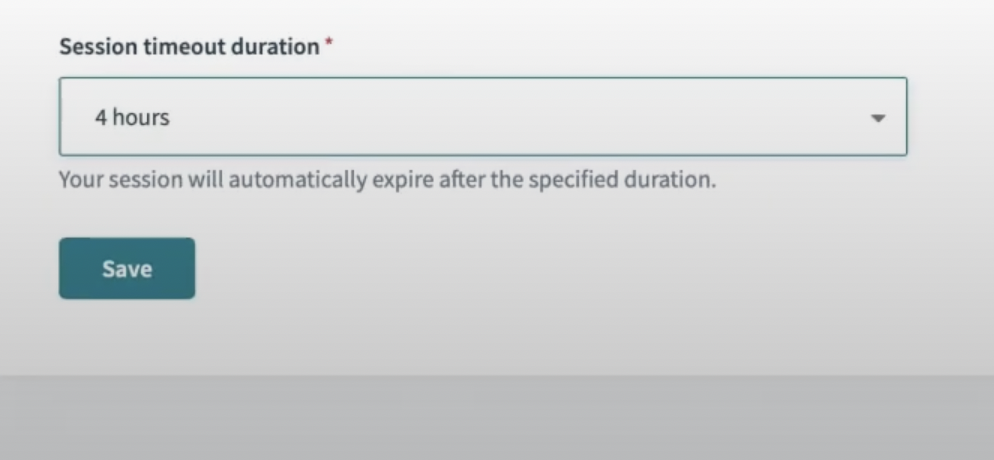
You can edit your session duration timeout by navigating to Settings > Account > Session timeout duration
A shorter time-out session
A shorter (e.g. 15min) time-out session helps reduce the risk of someone else accessing the account. However, it may be counterproductive.
A longer time-out session
A longer (e.g. 14 days) session timeout duration on the other hand may be great for productivity but it does increase the risk of the account being compromised.
Balancing security with productivity
In this case, taking into account both our security and productivity needs, we picked a 4 hour period.
How to configure email notification preferences for critical updates in your account setting
It is also important that you set up email notifications for your workspace. In Settings > Email notifications, you may define which team member will receive the different types of email notifications. This allows you to send specific and relevant alerts to members of your team
Types of email notifications:
- Admin notification — emails regarding billing, usage, and other important account updates
- Error notifications — emails received when recipe error occurs
Note that these email notifications are distinct from the log-in email provided earlier on the account page.
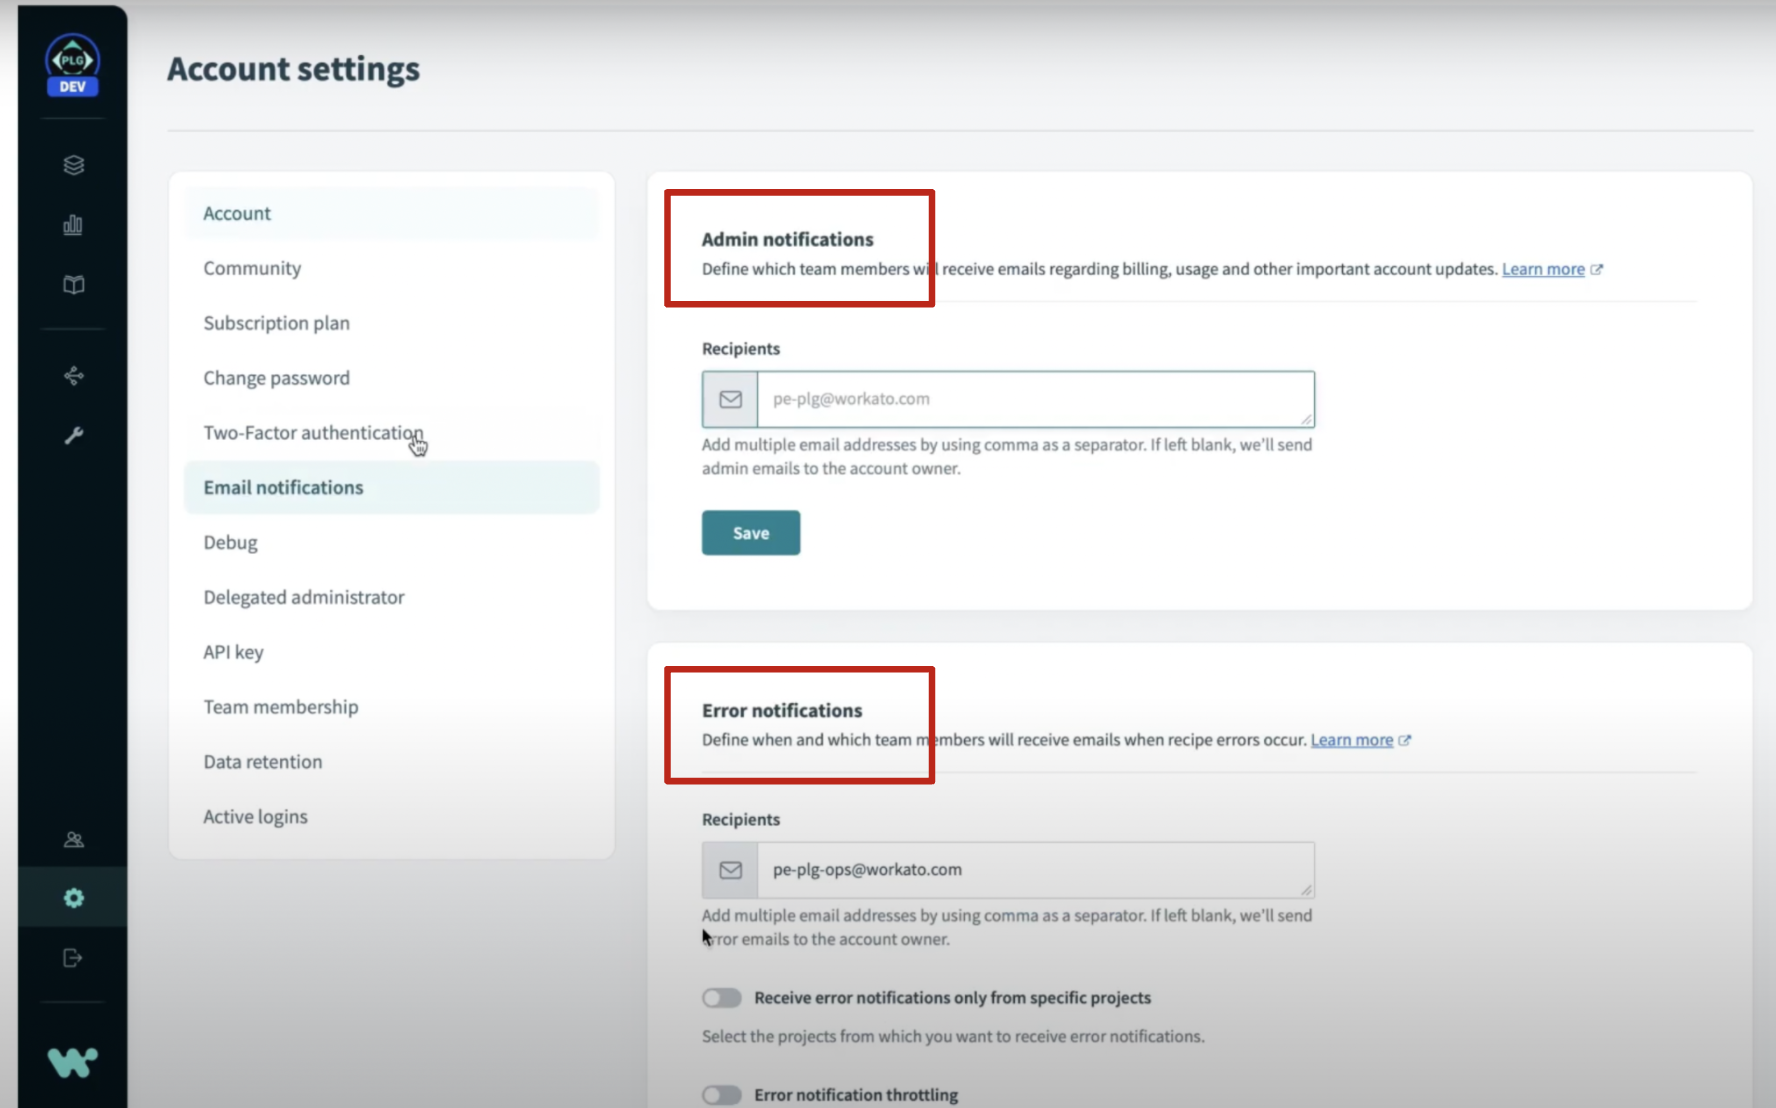
Admin and Error notification
Admin Notifications
Admin notification allows for the people managing the workspace to receive important communications on recipe usage, security alerts, user activity, billing information, and much more.
By default, admin notifications are sent to the workspace account owner (or the log-in email specified above).
In this case, i’ll use the email alias our admins’ monitor, which is pe-admin@workato.com
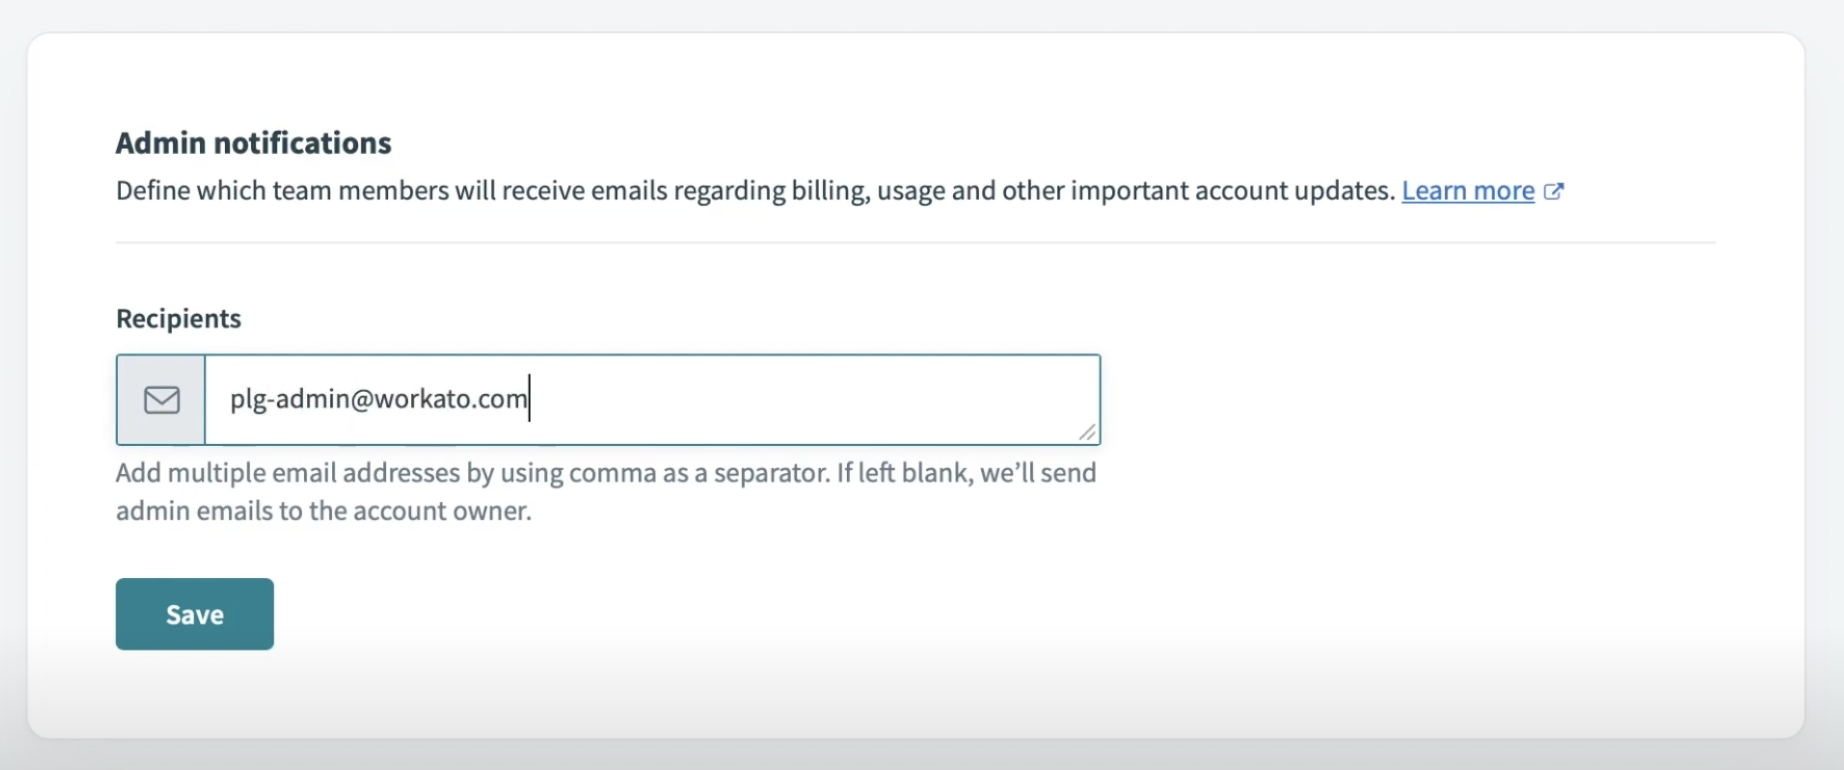
Admin notification email
Error Notifications
Error email notifications are a way to alert you when an exception or error occurs in your recipe. These alerts keep you informed so you can take action to resolve issues faster and ensure the uptime of your business and mission-critical recipes.
Related: Creating autonomous monitoring and error handling frameworks
For these alerts, I will send them to the email alias that our operation team uses, which is pe-plg-ops@workato.com.
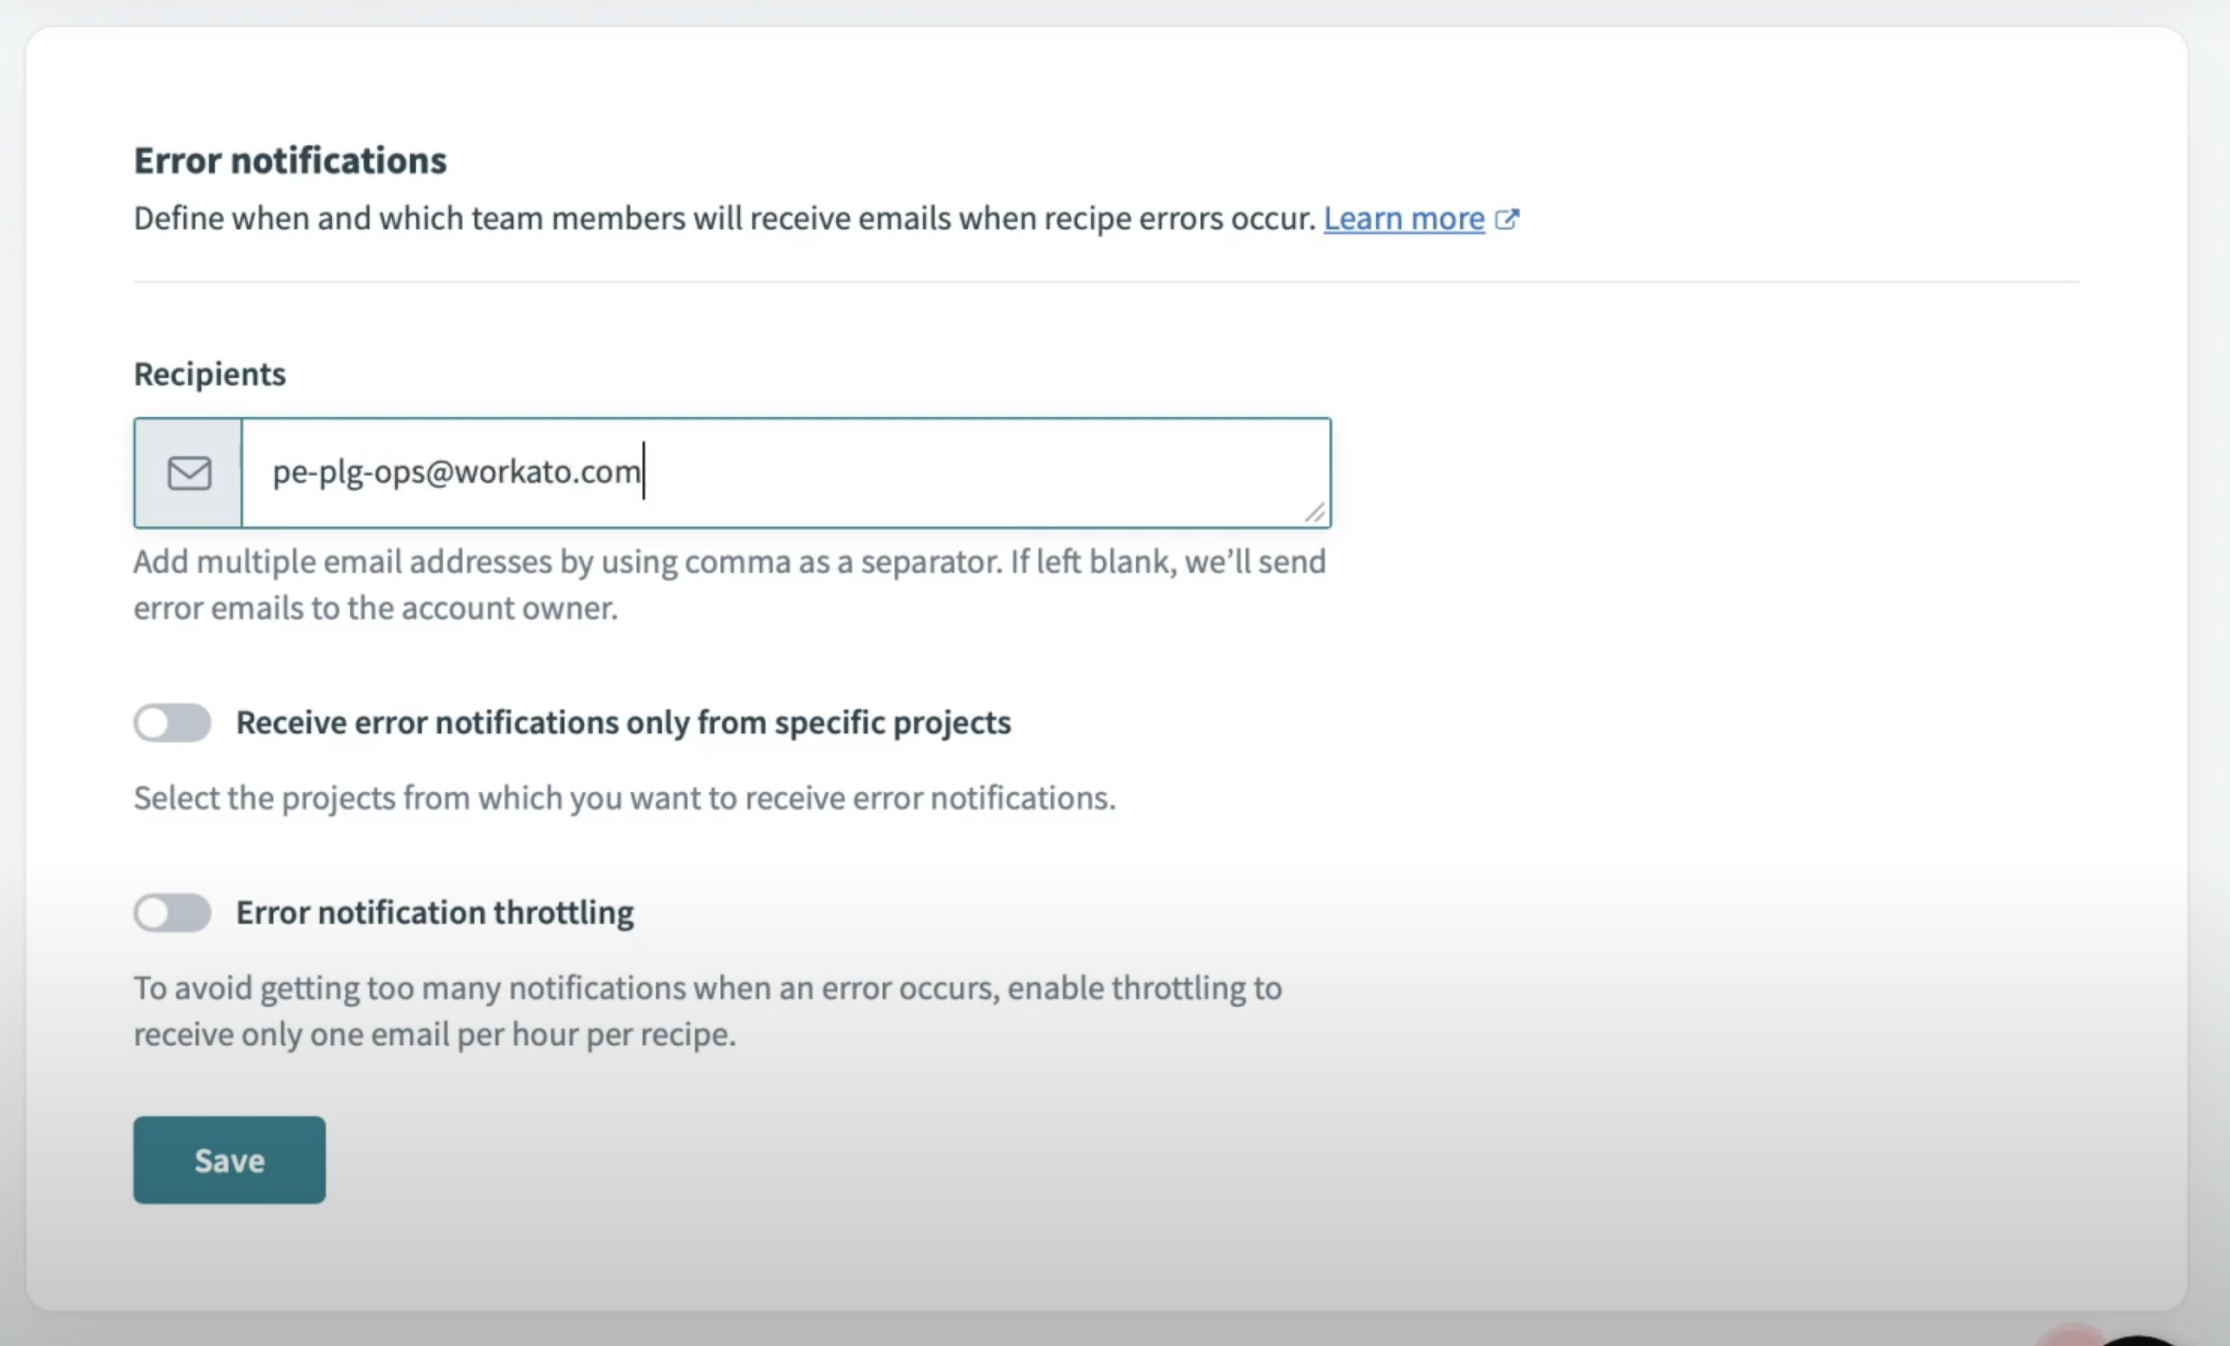
Error notification email
However, not all recipes are as important — some are more critical than others and require immediate attention when exceptions occur. You may customize your error notification by only turning on notifications for projects that contain mission-critical recipes.
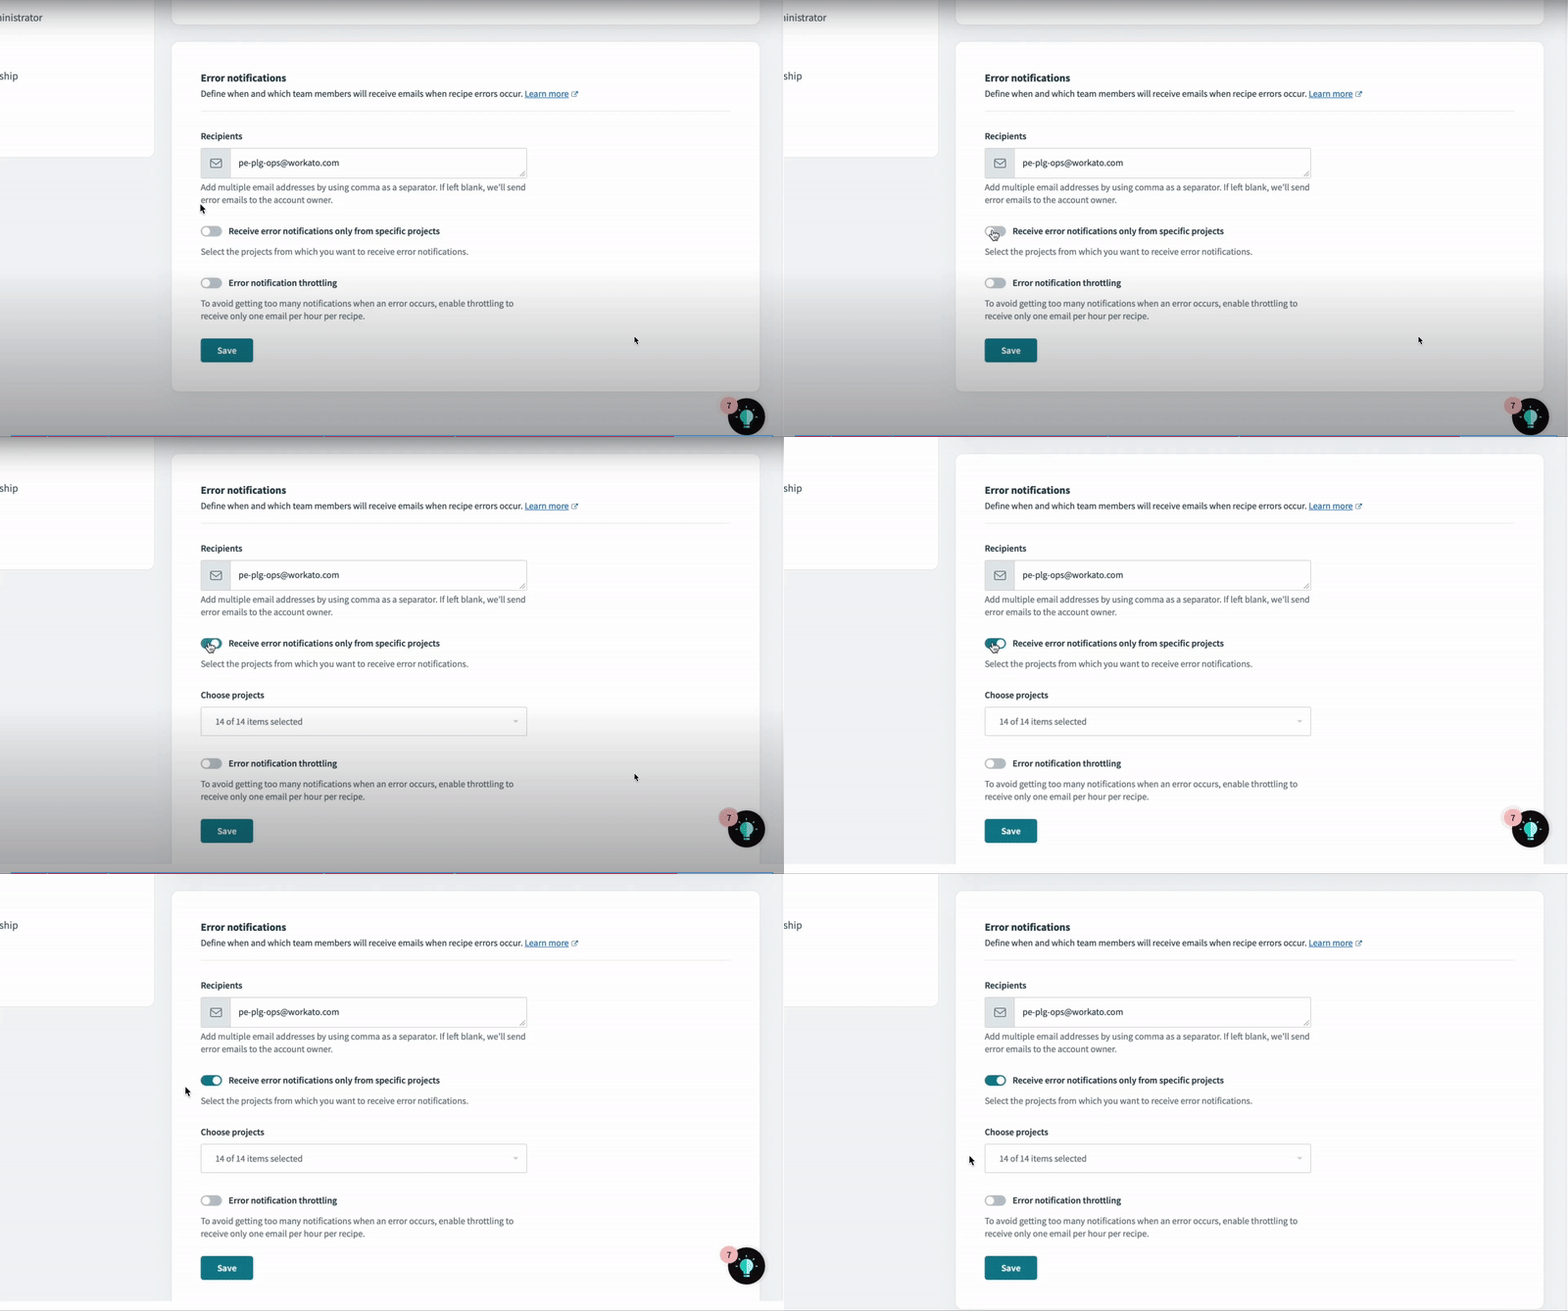
Turning on notifications for specific projects
Examples of critical recipes include order-to-cash projects that contain sensitive customer and financial data, as well as ticket escalation so you can always keep track of support requests.
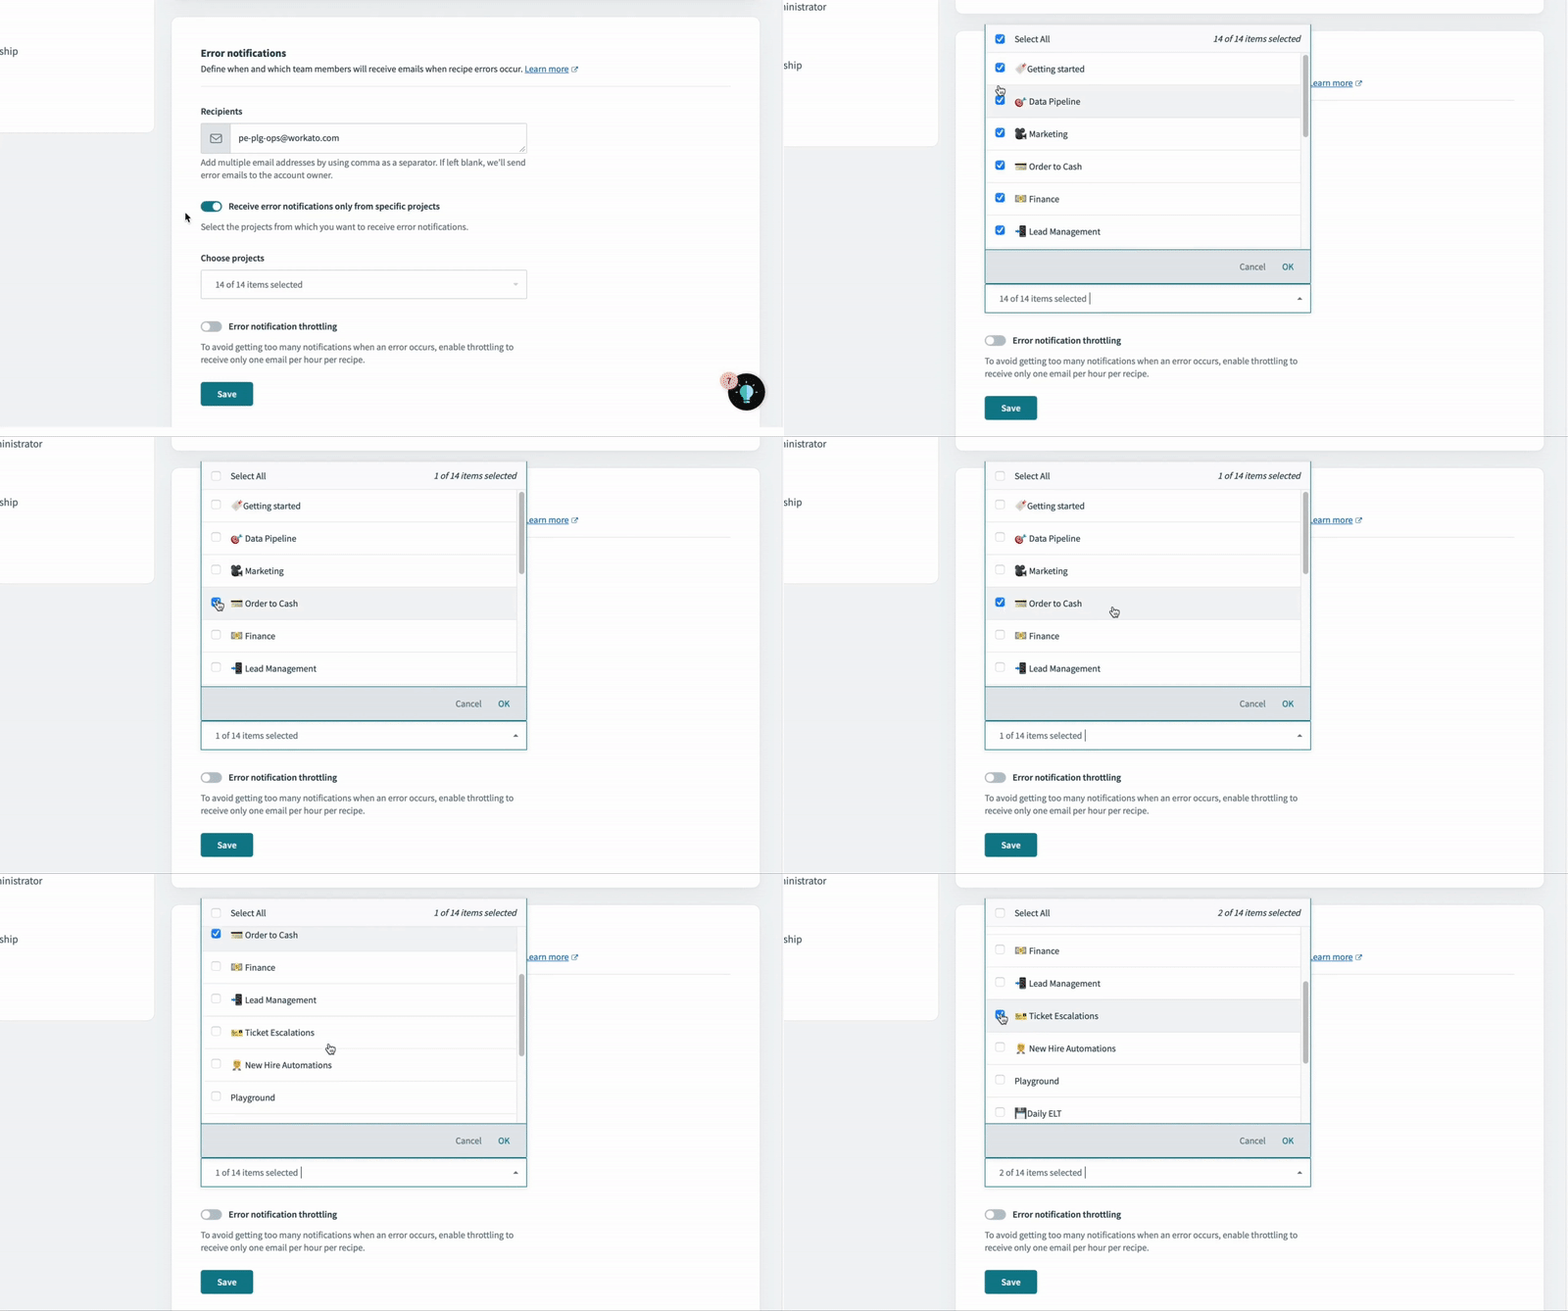
Turning on notifications for Order to Cash and Ticket Escalation projects only
To learn more about error notifications, read the full documentation on error notifications here.

